Hugo 的 LoveIt 主题修改及增强(一)
当我的博客有了 logo 和网站图标后,总还是感觉少了点什么,所以逛了逛别的大佬建的站,发现了许多好玩的玩意儿,在这里记录一下。
由于内容比较多,目前暂时分为四个部分,链接如下:
添加阅读次数统计
见之前文章:Hugo 添加访问统计功能
Permalinks 参数修改
修改这个参数,可以使我们之后修改网站文章的 url 更便捷,不需再采用hugo new posts/your_post.md新建文章的方式来修改,我们甚至还可以做到文章文件名与其 url 不一致。
hugo new posts/your_post.md后生成的文章的文件名,本例子中是your_post;而网站文章 url,是指这篇文章在你的 blog 网站中的 url,在本例中如果按照 LovIt 主题默认的方式,那么网站文章 url 为 https://stilig.me/your_post/修改 Permalink 配置
找到博客根目录下的配置文件your_site/config.toml,找到参数Permalinks,按照下面的代码块修改:
|
|
将 slug 参数添加至.md文件的模版
在你博客的根目录下找到your_site\archetypes\default.md并打开,把 slug 参数 添加到 title 参数下,如下代码块:
|
|
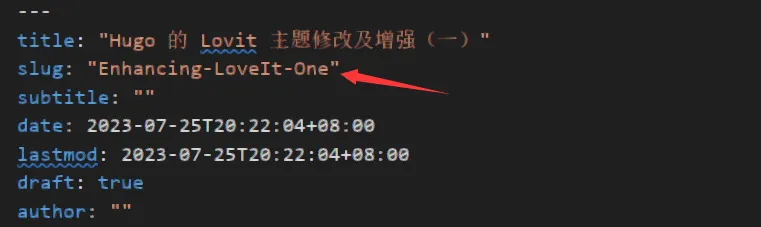
这样我们新建的文章中就都会有 slug 参数了,然后我们只需要修改slug="" 的""中的值,就可以改变文章 url 了。
而对于之前那些文章,我们也只需要在文章头中添加参数 slug 就可以了,如下图:
添加自定义404页面
在博客根目录的your_site\layouts\文件夹下,放入你想放的404.html文件,这样它就会覆盖掉原主题的your_blog\themes\LoveIt\layouts\404.html文件。
生成 public 文件时,Hugo 会优先读取根目录的文件,然后再读取主题里文件(也就是your_blog\themes\LoveIt\layouts\里的文件)。
我们当然也可以直接修改主题里的文件,但是如果这样做,那么在更新主题后我们之前的修改也会一并地消失。因此在本文的后面,我们宁愿把主题里的文件复制到根目录对应位置后再修改,也不直接修改。
添加文章数量统计
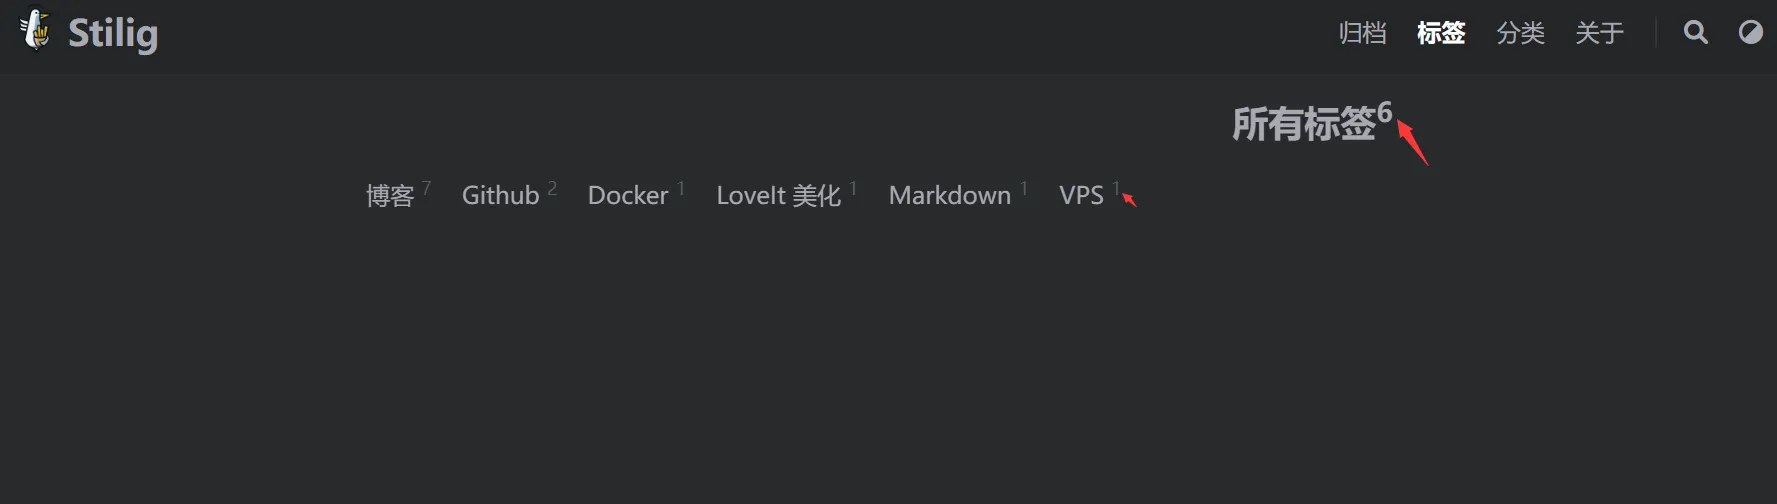
其实就是利用 hugo 提供的变量来获取文章数量,再通过 html 里的sup标签,把文章数量在上标中显示出来,如下图:
修改 list.html 文件
复制your_site\themes\LoveIt\layouts\taxonomy\list.html到your_site\layouts\taxonomy\路径下。
- 然后打开
your_site\layouts\taxonomy\list.html,找到下面的内容:将其改为:1 2 3 4 5{{- if eq $taxonomy "category" -}} <i class="far fa-folder-open fa-fw"></i> {{ .Title }} {{- else if eq $taxonomy "tag" -}} <i class="fas fa-tag fa-fw"></i> {{ .Title }} {{- else -}}1 2 3 4 5{{- if eq $taxonomy "category" -}} <i class="far fa-folder-open fa-fw"></i> {{ .Title }}<sup>{{ len .Pages }}</sup> {{- else if eq $taxonomy "tag" -}} <i class="fas fa-tag fa-fw"></i> {{ .Title }}<sup>{{ len .Pages }}</sup> {{- else -}} - 继续找到:
将其改为:
1 2{{- range $pages.PageGroups -}} <h3 class="group-title">{{ .Key }}</h3>1 2{{- range $pages.PageGroups -}} <h3 class="group-title">{{ .Key }} <sup>{{ len .Pages }}</sup></h3> - 因为 LoveIt 博客是以年份来分组的,但是我的博文没有那么多,以月份来分组更加有记录感,所以可以把下面内容:
改为:
1 2 3{{- /* Paginate */ -}} {{- if .Pages -}} {{- $pages := .Pages.GroupByDate "2006" -}}从而达到以月份分组。1 2 3{{- /* Paginate */ -}} {{- if .Pages -}} {{- $pages := .Pages.GroupByDate "2006-01" -}}
修改 terms.html 文件
复制your_site\themes\LoveIt\layouts\taxonomy\terms.html到your_site\layouts\taxonomy\路径下。
- 然后打开
your_site\layouts\taxonomy\terms.html,找到下面的内容:改成:1 2 3 4 5<div class="page archive"> {{- /* Title */ -}} <h2 class="single-title animated pulse faster"> {{- .Params.Title | default (T $taxonomies) | default $taxonomies | dict "Some" | T "allSome" -}} </h2>1 2 3 4 5<div class="page archive"> {{- /* Title */ -}} <h2 class="single-title animated pulse faster"> {{- .Params.Title | default (T $taxonomies) | default $taxonomies | dict "Some" | T "allSome" -}}<sup>{{ len .Pages }}</sup> </h2> - 继续找到:
然后改成:
1 2 3 4 5<h3 class="card-item-title"> <a href="{{ .RelPermalink }}"> <i class="far fa-folder fa-fw"></i> {{ .Page.Title }} </a> </h3>1 2 3 4 5<h3 class="card-item-title"> <a href="{{ .RelPermalink }}"> <i class="far fa-folder fa-fw"></i> {{ .Page.Title }} <sup>{{ len .Pages }}</sup> </a> </h3>
修改 section.html 文件
复制your_site\themes\LoveIt\layouts\_default\section.html到your_site\layouts\_default\路径下。
- 然后打开
your_site\layouts\_default\section.html,找到下面的内容:改成:1 2 3 4 5<div class="page archive"> {{- /* Title */ -}} <h2 class="single-title animated pulse faster"> {{- .Params.Title | default (T .Section) | default .Section | dict "Some" | T "allSome" -}} </h2>1 2 3 4 5<div class="page archive"> {{- /* Title */ -}} <h2 class="single-title animated pulse faster"> {{- .Params.Title | default (T .Section) | default .Section | dict "Some" | T "allSome" -}}<sup>{{ len .Pages }}</sup> </h2> - 继续找到:
然后改成:
1
2
{{- range $pages.PageGroups -}} <h3 class="group-title">{{ .Key }}</h3>1 2{{- range $pages.PageGroups -}} <h3 class="group-title">{{ .Key }} <sup>{{ len .Pages }}</sup></h3> - 同样,这里是以年份分组的,若要改为以月份分组,则要把下面代码:
改为:
1 2 3{{- /* Paginate */ -}} {{- if .Pages -}} {{- $pages := .Pages.GroupByDate "2006" -}}1 2 3{{- /* Paginate */ -}} {{- if .Pages -}} {{- $pages := .Pages.GroupByDate "2006-01" -}}
这样操作后,以我的网站为例,归档、分类和标签页面就都能加上文章数量统计了。
添加文章密码
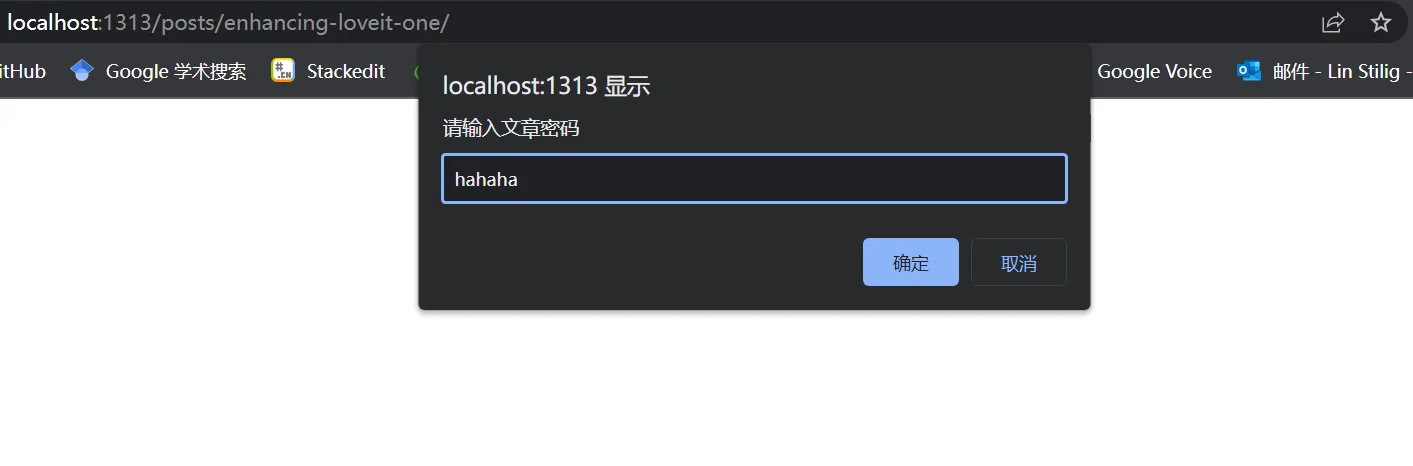
有时候我们并不想把一部分网页展示给所有人,那么我们可以加密我们的网页,使其要通过密码访问,如下图:
修改 single.html
将your_site\themes\LoveIt\layouts\posts\single.html复制粘贴到your_site\layouts\posts\路径下。打开your_site\layouts\posts\single.html文件,在{{- $params := .Scratch.Get "params" -}}下添加下面内容:
|
|
将 password 参数添加至.md文件的模版
之后我们只要将 password 参数添加到文章头即可。
但为了方便起见,我这里直接把它加到了模板文件中,即在博客的根目录下找到your_site\archetypes\default.md并打开,把 password 参数添加进去,如下代码块:
|
|
password= ""的""中的字符即为密码,若无字符,则文章不加密无需密码登录。参考文章: