I have been finding a way to make my Hugo blog more beautiful, but the configuration file is too long to read, so I spend a lot of time in studying the file. In this article, I write down some operations about how to beautify my Hugo blog.
add various icons
1. Avatar of home page
under root directory path of blog, we should find the assets folder, open the folder and create a new folder images. then we should put our avatar file avatar.png in folder images.
under root directory path of blog, we should find the configuration file config.toml, and find the parameter avatarURL="". Then we should fill the path under assets of avatar in ""( Here, we can also fill the URL of avatar in "") . Finally, the avatarURL will be avatarURL = "images/avatar.png".
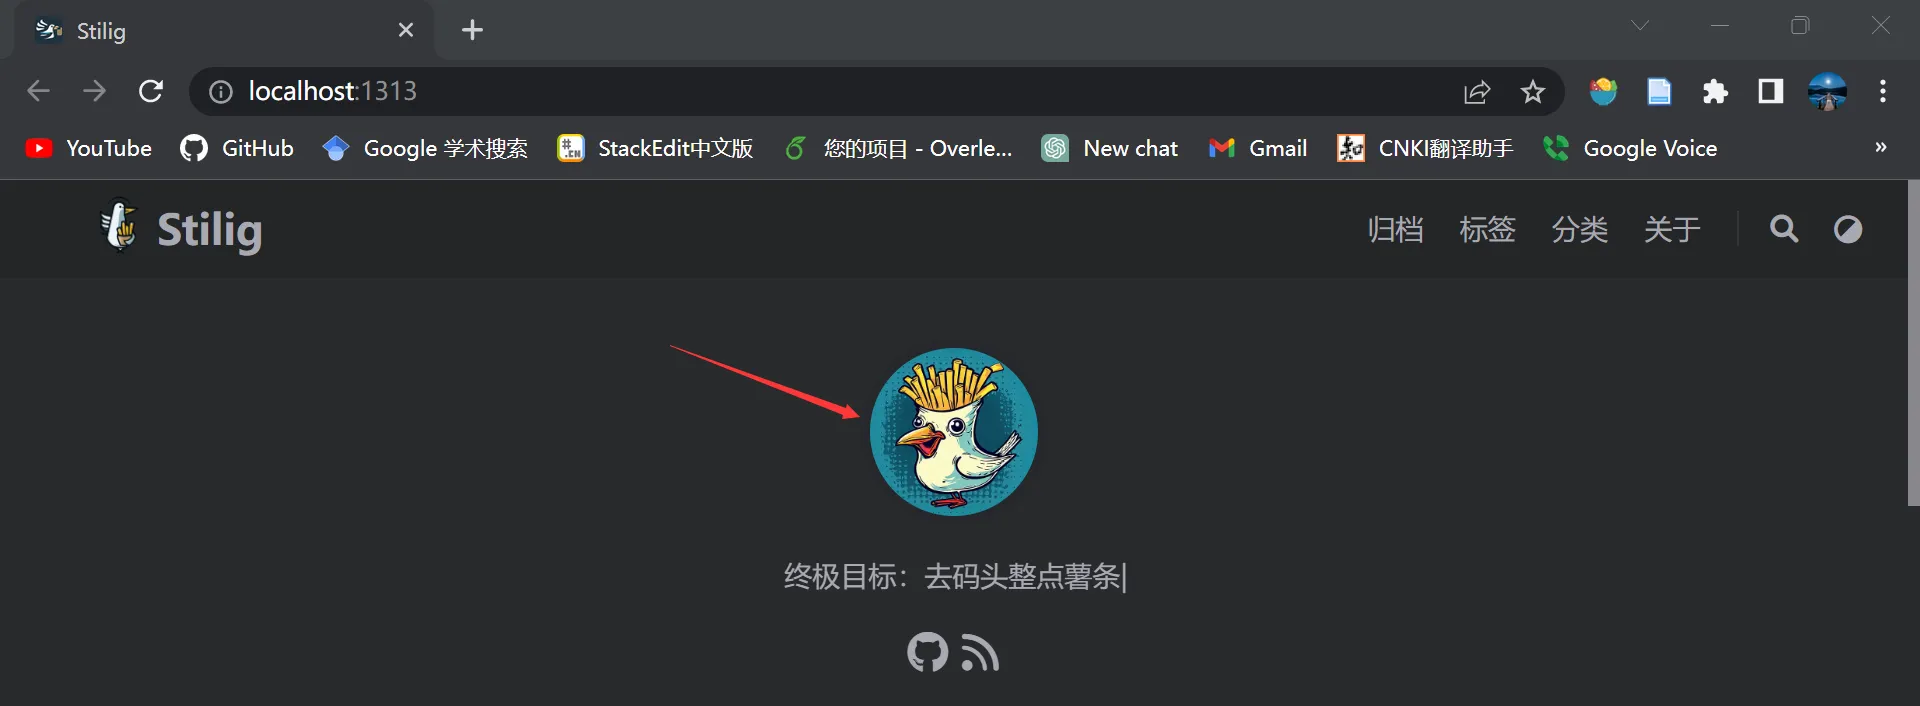
Then our blog will own an avatar, as shown in the following picture.
pic-01
2. logo before your site name
Just like before, we should put logo iconlogo.png in your_site/assets/images folder.
Then we should find parameter logo="" in the configuration file config.toml. And we fill the logo icon path in ""( Of course, we can also fill the URL of logo in "").
note
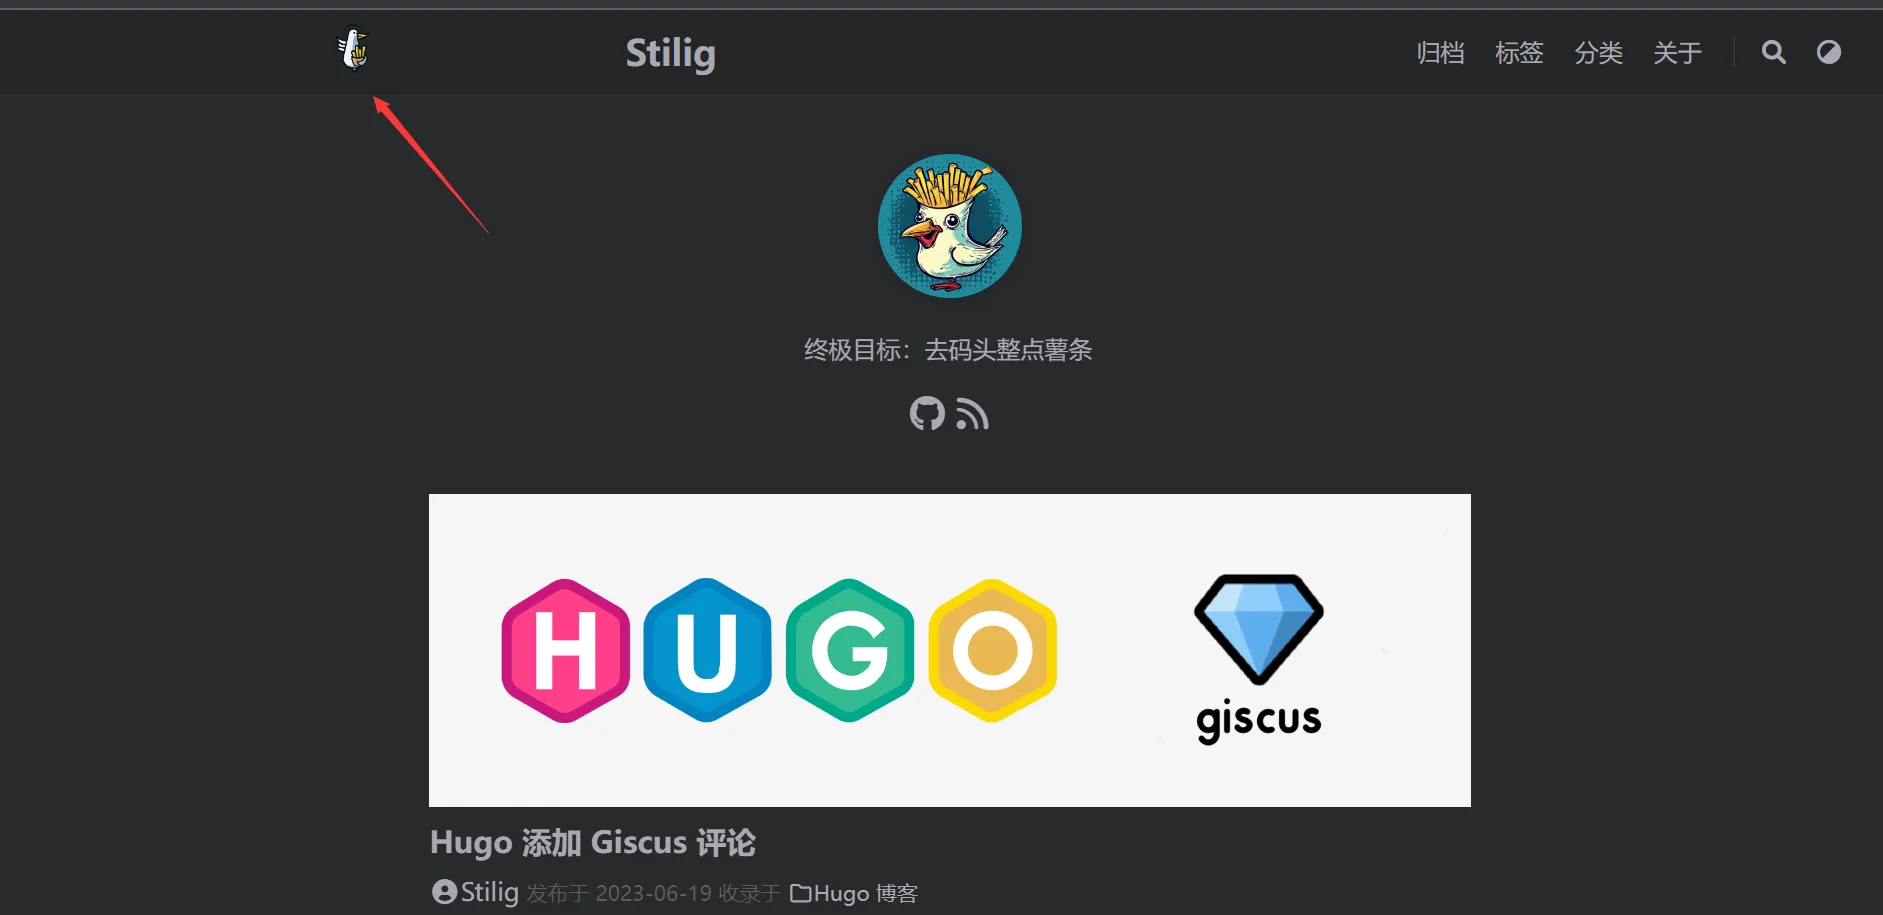
If we use .png picture and can’t control its size correctly, we will find the picture and text are arranged strangely, as shown in the following picture.
pic-02
However, if we use .ico picture, the situation above will not happen. but parameter logo don’t support .ico picture. So we should change the suffix name of .ico picture which is as logo to .png , then parameter logo can read file of logo picture.
If your logo picture is .png picture at fist, you can change it to .ico picture by this site.
Then our blog can display natural logo, as shown in the following picture.
3. Icon of website
Compared situations above, the icon of website should be put in your_site/static folder. And we can choose two image types for the icon of website.
Use stretched vector graphics whose suffix name is .svg
If your icon is .png file at first, you can change it to .svg by this site. Then we just need to put the .svg file in your_site/static folder.
And then, we should find the parameter svgFavicon="" in configuration file config.toml. If we name the .svg file safari-pinned-tab.svg, we need only change parameter svgFavicon="" to svgFavicon = "/safari-pinned-tab.svg".
Use pictures which are various sizes
we can find the icons of website which are various sizes under path your_blog\themes\LoveIt\exampleSite\static, as shown in the following picture.
pic-03
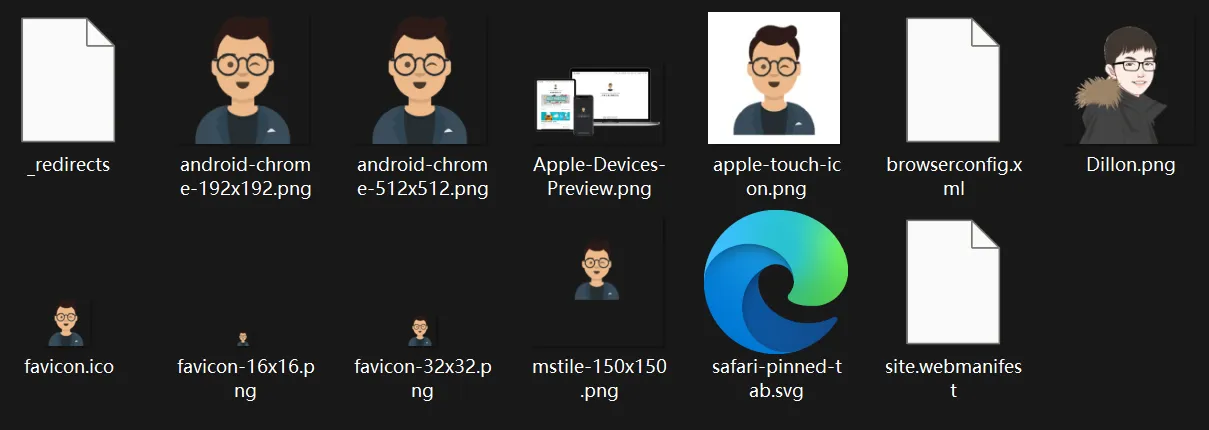
So we can follow the above way to put icons of various sizes in your_site/static folder, as shown in the following picture. ( if your use this method, you should ensure parameter svgFavicon is empty and the name of icons of various sizes is consistent with the official.)
pic-04
tip
the your_blog\themes\LoveIt\layouts\partials\head\link.html file contains above rules probably, a part of code is shown in the following:
 1
 2
 3
 4
 5
 6
 7
 8
 9
10
11
12
13
14
15
16
...
{{- if not .Site.Params.app.noFavicon -}}
{{- with .Site.Params.app.svgFavicon -}}
<linkrel="icon"href="{{ . }}"> {{- else -}}
<linkrel="shortcut icon"type="image/x-icon"href="/favicon.ico"/><linkrel="icon"type="image/png"sizes="32x32"href="/favicon-32x32.png"><linkrel="icon"type="image/png"sizes="16x16"href="/favicon-16x16.png"> {{- end -}}
<linkrel="apple-touch-icon"sizes="180x180"href="/apple-touch-icon.png"> {{- with .Site.Params.app.iconColor -}}
<linkrel="mask-icon"href="/safari-pinned-tab.svg"color="{{ . }}"> {{- end -}}
<linkrel="manifest"href="/site.webmanifest">{{- end -}}
...
So we just need to name our icons as what the official has named, and it mainly concerns the icons which are android-chrome-192x192.png,android-chrome-512x512.png,apple-touch-icon.png,mstile-150x150.png,favicon.ico,favicon-32x32.png,favicon-16x16.png,safari-pinned-tab.svg.
If you want to adjust the size of .png picture in batches, you can do it by this site.
What’s more, this way is more universal than the above way.
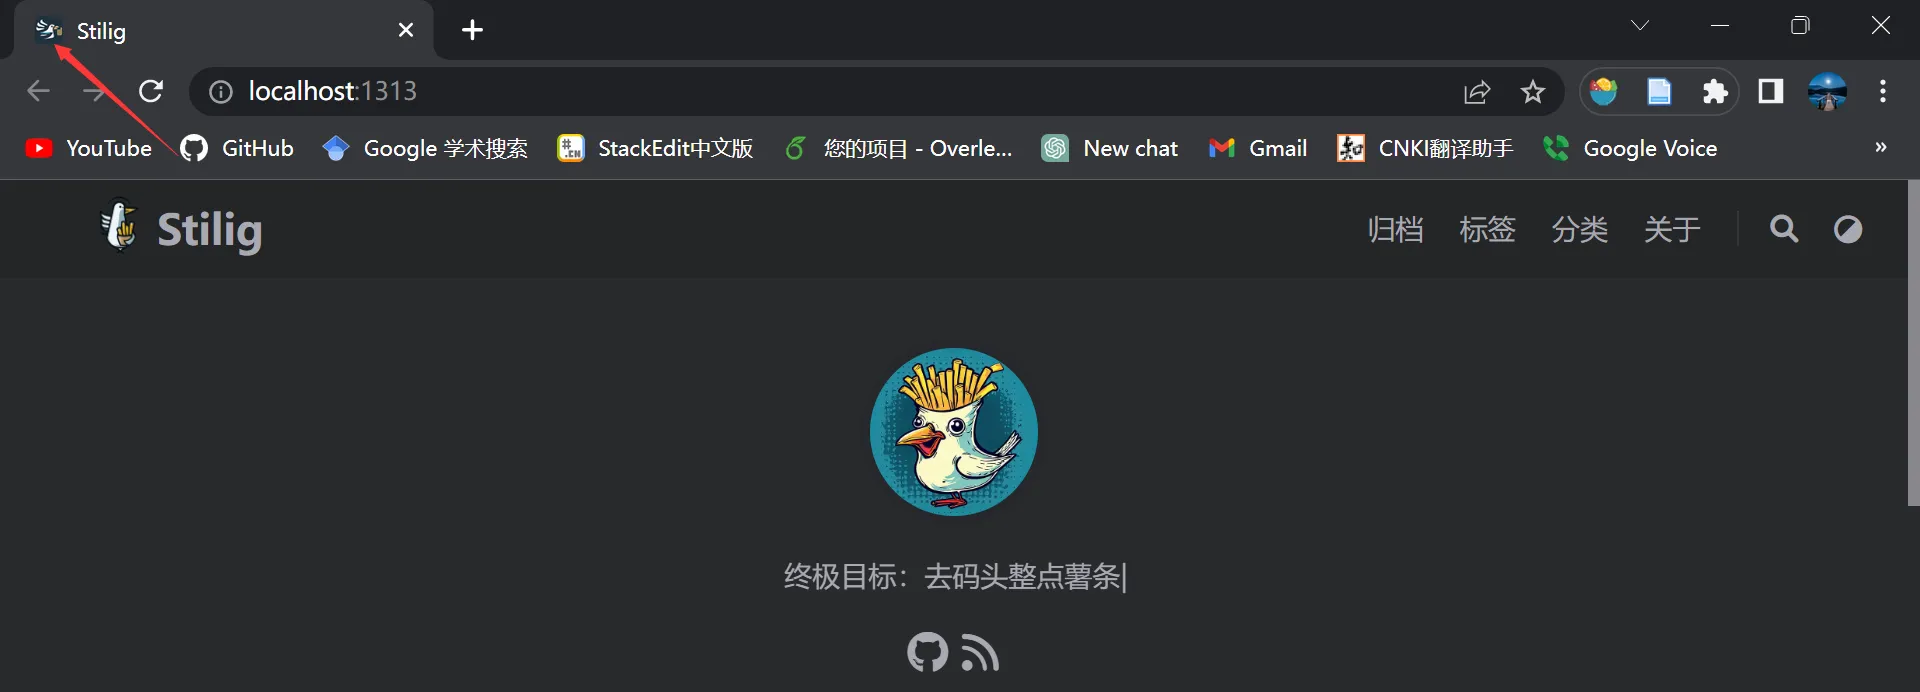
Then our blog can display icon of website, as shown in the following picture.
pic-05
Parameter of head of article
We have modified the default.md file which is put in archetypes folder. In fact, the default.md is template of head of our every article, as shown in the following picture.
And about what the parameter of head of article means, It will be interpreted in the following.
pic-06
tags
This parameter means the tags of article. If you want to add many tags to one article, you should follow the method below.
1
tags: ["tag-1","tag-2"]
categories
This parameter means the categories of article. If you want to add many categories to one article, you should follow the method below.
1
categories: ["categories-1","categories-2"]
share
This parameter means whether enable the sharing function at the bottom of the article.
comment
This parameter means whether enable the commenting function at the bottom of the article.
hiddenFromHomePage
This parameter means whether to hide this article from home page.
hiddenFromSearch
This parameter means whether to hide this article when you are searching in this blog.
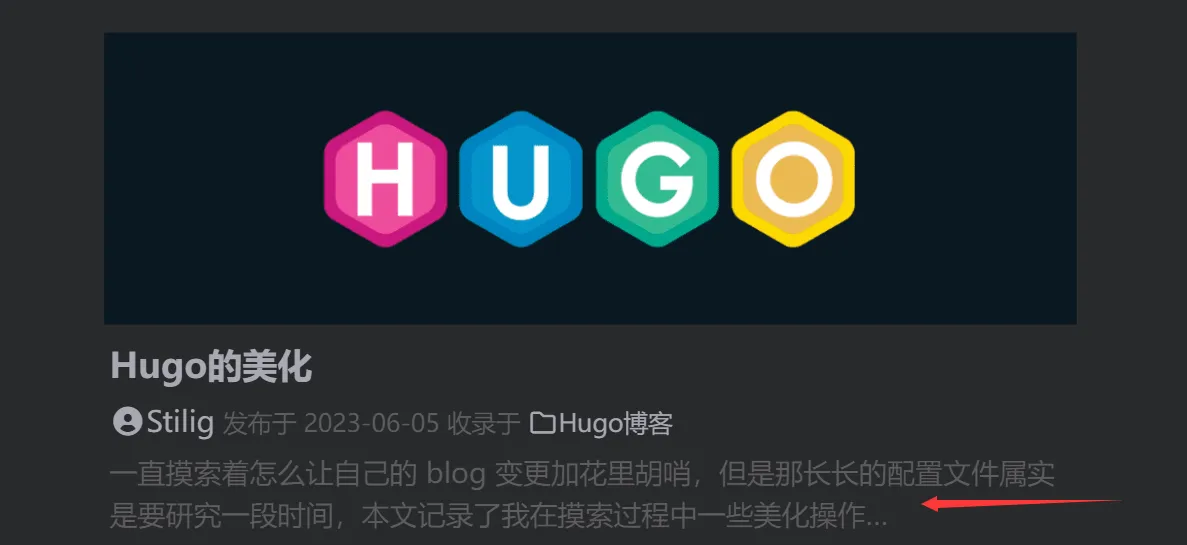
summary
This parameter means a description of this article, and the description will display in home page, as shown in the following picture.
pic-07
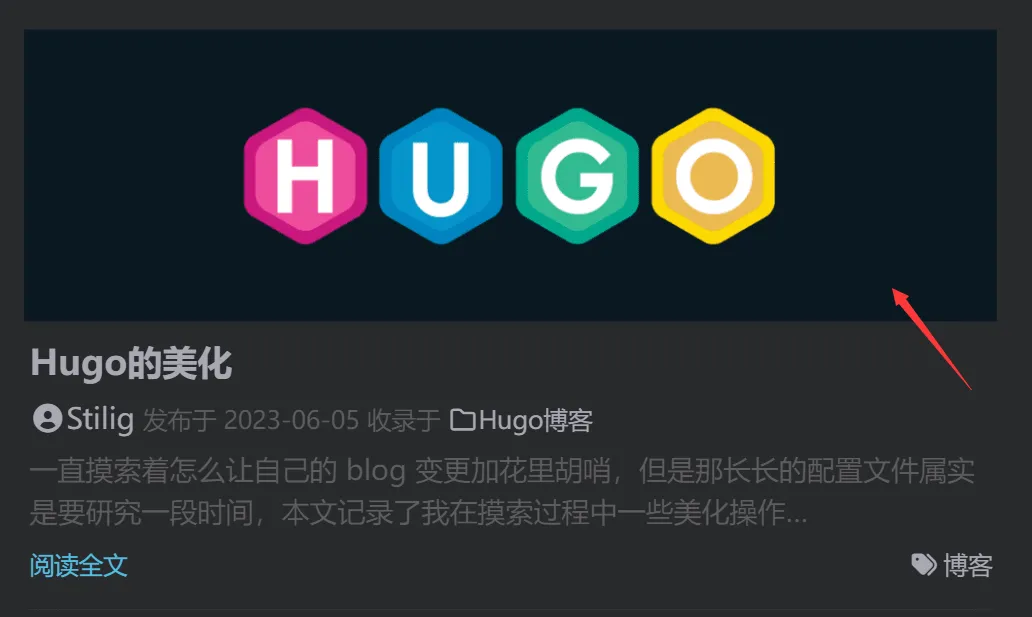
featuredImagePreview
This parameter means a descriptive picture of this article, an the descriptive picture that is cropped will display in home page, as shown in the following picture.
pic-08
tip
The descriptive picture should have an aspect ratio of 10:3, otherwise the picture will be automatically cropped to 10:3, which may lead to lost content. And for distinguishing the picture and the background, we can choose #f6f6f6 and #f6f6ff to replace white.
Some extended usage for LoveIt theme
link
If we input <https://stilig.me> in the markdown file, the webpage will display https://stilig.me.
admonition
If we input the below code in the markdown file,
1
2
3
{{<admonitiontype=tiptitle="This is a tip"open=false>}}
a **tip** admonition.
{{</admonition>}}
the webpage will display as below:
This is a tip
a tip admonition.
Where the admonition type parameter means the type of admonition, there are a total of 12 types, which are respectively note, abstract, info, tip, success, question, warning, failure, danger, bug, example and quote (where the default is note).
The title parameter means the title of admonition.
The open parameter means whether to open the admonition, and the default is true.
Other extended shortcode
More content can be found here, and some of Hugo built-in shortcode can be found here.
Configuration of menu bar
Many blog often owns an about page that you can introduce yourself, but the configuration that I gave at first don’t contain this about page, so we can add this page by ourselves.
At first, we should come to the root path of blog in the PowerShell, and we should input the below code to create a new about folder in content folder and a index.md file in about folder.
1
hugo new about/index.md
And this index.md will be the about page.
Then we should find and open your_site/config.toml file to find [menu] and add the following code below [menu]
1
2
3
4
5
6
7
[[menu.main]]name="about"# the `weight` parameter means the weight of the sort.weight=4identifier="about"url="/about/"title="About"
And then, the about page is created.
Warning
This article was last updated on August 10, 2023, If the content or picture is invalid, please leave a message to feedback.Some materials come from the Internet, if the materials accidentally affect your interests, please contact for deletion.
If this article has helped you, you could click 👇 ad to support me!